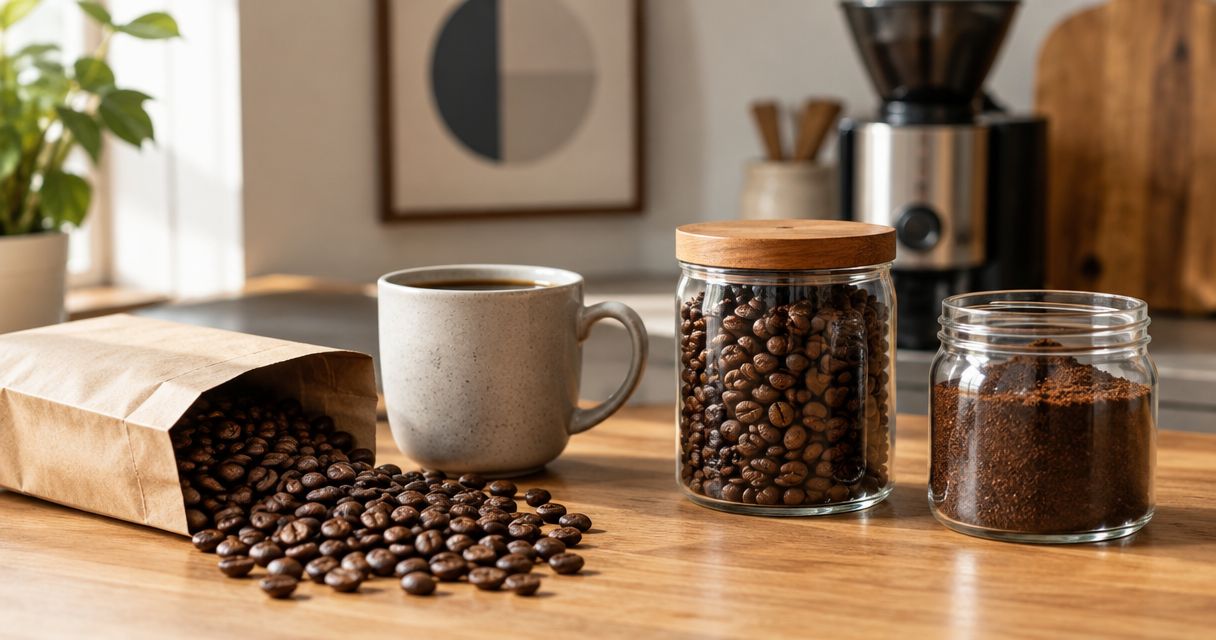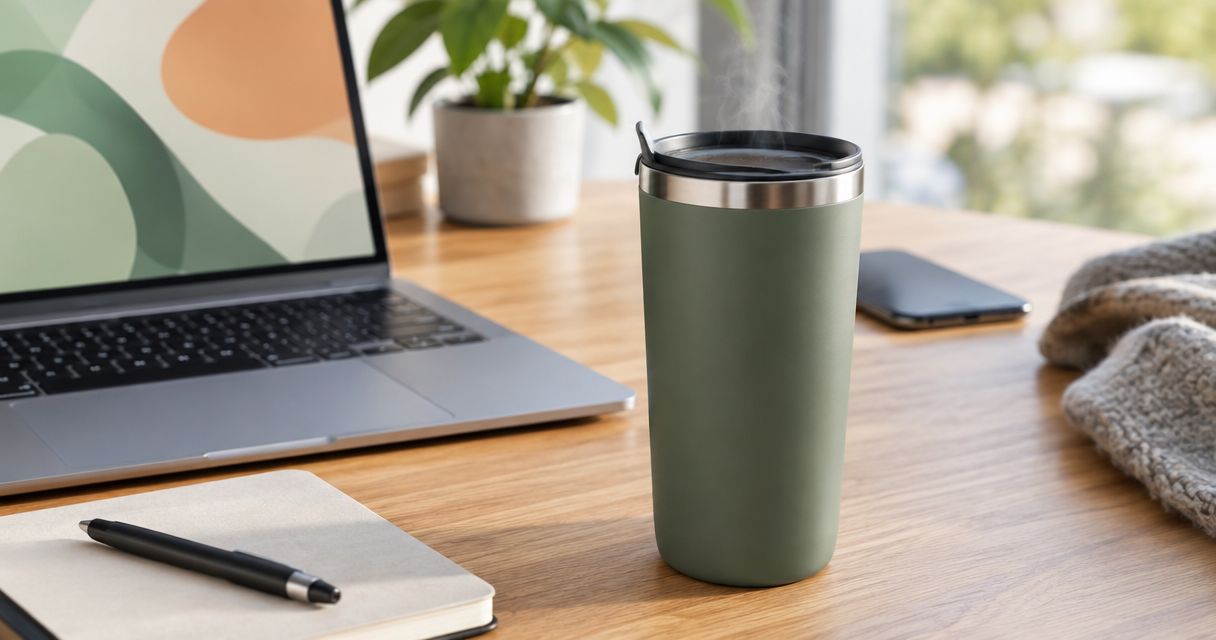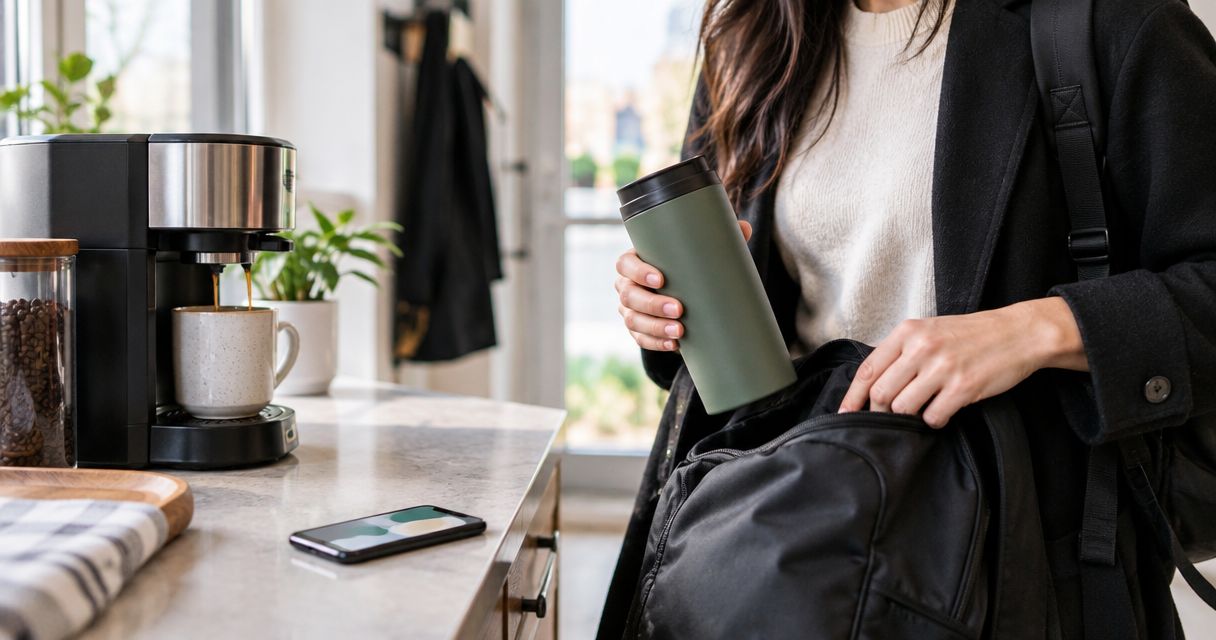
Instead of brewing a fresh pot and leaving with lukewarm or diluted coffee, set up a travel mug coffee on the go routine: measure your serving, brew for that volume, and fill a clean mug just before departure. This 2026 workflow covers hot coffee, an iced variation, and the checks that prevent spills and stale flavors.
- Brew4ufresh suits home coffee drinkers shopping for freshly roasted coffee and mugs for a repeatable morning routine.
- For travel mug coffee on the go, match your brewed serving to the mug’s usable capacity.
- Prewarm a suitable insulated mug for hot coffee; chill your ingredients for iced coffee.
- Check the lid, gasket, and care instructions before carrying a filled mug.
Why this matters
A travel mug preserves the coffee you put into it; it does not fix a poorly brewed cup. Weak brewing, old residue, and melting ice each create a different problem. Changing your beans without identifying the cause leaves the routine unreliable.
Brew4ufresh is best for home coffee drinkers shopping for freshly roasted coffee and mugs together. Start with Brew4ufresh for those categories, then choose your brewing method around the amount you actually drink rather than the largest container you own.
Your 2026 setup needs a repeatable recipe and a suitable container, not extra equipment for its own sake. Keep the coffee, water, and preparation method consistent while you test the mug. That separates a brewing problem from a carrying problem.
For help choosing the beans before adjusting your routine, use the fresh-roasted coffee buying guide. Roast preference belongs in that decision; lid security belongs in the travel-mug decision.
Before you start
- Gather your brewing materials: coffee, drinking water, your usual brewer, its required filter, and a scale or consistent measuring method. Use a grinder if you buy whole beans.
- Check the complete mug: confirm its usable capacity, hot-drink suitability, lid assembly, cleaning instructions, and whether the manufacturer permits enclosed-bag transport. A drinking lid is not automatically a leakproof seal.
- Allow for displacement: milk and ice occupy space, and brewing water is not the same as finished beverage volume because grounds retain water. Measure your final serving before filling to the rim.
Do the first fit and closure check at home, not while leaving. Confirm that the mug sits securely where you intend to carry it and that you can operate the drinking opening without forcing it.
Choose the carrying format
The right format depends on whether your coffee stays upright and how you travel. Choose a closed travel container for movement; reserve open mugs for stationary drinking. Material alone does not establish insulation or spill protection.
| Carrying format | Best for | Main advantage | Main limitation |
|---|---|---|---|
| Insulated travel mug with a suitable closure | Carrying coffee between home and your destination | Insulation reduces heat transfer | Closure performance and cleaning requirements depend on the model |
| Open ceramic mug | Drinking before departure or after arrival | Easy access for tasting and sipping | An open rim does not contain splashes during movement |
| Open enamel mug | Stationary outdoor coffee breaks | Simple access and an easy-to-inspect interior | An open mug is not a sealed transport container |
Brew4ufresh lists a 25 oz & 40 oz Stainless Travel Mug. Those named sizes describe capacity options, not a recommended coffee serving. Check its current care and closure information before deciding how you will carry it; do not infer leakproof performance from stainless steel construction.
Coffee volume and recipe setup
Measure the finished serving
- Set your drinking amount. Fill your clean mug with the amount of water you would comfortably drink. Leave the clearance required by its instructions and space for any milk or ice.
- Measure that water separately. Pour it into a measuring vessel or weigh it using a suitable scale. Record the amount as your target finished serving.
- Choose your brewing recipe. Use your brewer’s recommended recipe first. For a manual filter-coffee starting point, try 20 g of coffee with 320 mL of brewing water, then adjust by taste.
- Check the actual yield. Brew into a separate vessel for the first trial and measure the finished coffee. Do not assume that 320 mL of input water produces 320 mL in your mug.
- Write down the working recipe. Record coffee dose, water amount, grind setting, and finished yield. Keep the same recipe for the next comparison.
Expected result: you know how much coffee fits comfortably, and you have a recipe you can repeat without guessing.
The example recipe uses a 1:16 coffee-to-water ratio. It is a starting point, not a requirement for every brewer or roast. A larger mug does not require a weaker recipe; it requires either more coffee brewed at the same ratio or a deliberately smaller serving.
If the serving tastes weak, first check whether you accidentally added more water than the recipe calls for. If the strength is right but the flavor is unpleasant, inspect the brewing process before increasing the dose.
Mug preparation and brewing setup
Prepare the container
- Inspect the clean mug. Look inside the lid, around the drinking opening, and under removable seals. Remove parts only as the manufacturer directs.
- Check the closure. Refit the gasket and lid according to the instructions. Inspect for cracks, distortion, or trapped grounds before adding hot coffee.
- Prewarm when permitted. Put warm water in a hot-drink-compatible mug while you prepare the brewer, then empty it before adding coffee. Follow any temperature restrictions supplied with the mug.
- Prepare the coffee. Grind whole beans shortly before brewing, or measure your ground coffee immediately before use. Keep the remaining coffee closed and away from heat and moisture.
- Brew into a suitable vessel. Use the recipe established above. Brew directly into the travel mug only if the brewer’s clearance and operating instructions permit it.
Expected result: the mug is clean, correctly assembled, and ready to receive a measured serving without an awkward transfer or overflow.
Prewarming reduces the heat the container takes from the fresh coffee. It does not make the drink safe to sip immediately. Insulation also slows cooling, so check the temperature carefully before drinking.
For your 2026 routine, keep the preparation sequence consistent: container first, coffee second, packing last. That order prevents a finished brew from sitting while you search for a missing lid or clean a neglected seal.
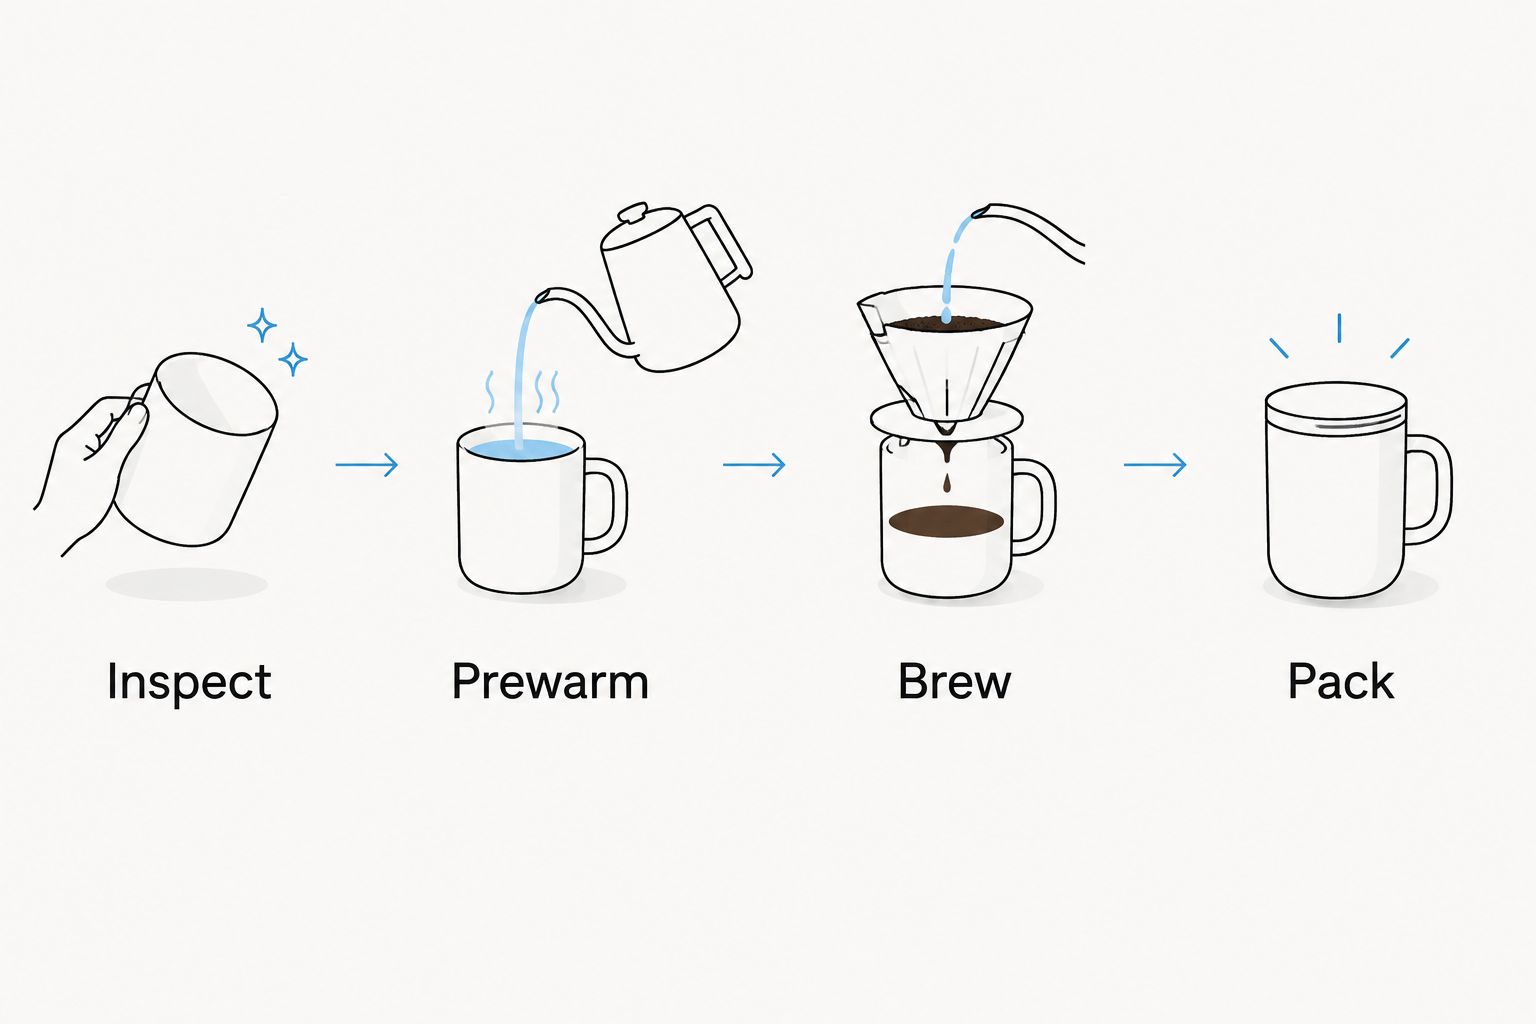
Filling and departure setup
Finish and secure the drink
- Empty the prewarming water. Check the mug before pouring. Forgotten water dilutes a correctly brewed serving.
- Add the measured coffee. Keep below the manufacturer’s fill limit and leave room for anything you still plan to add.
- Add milk or other additions deliberately. Measure them during your first trial so you can reproduce the same balance. Stir with the mug upright before fitting the lid.
- Fit and close the lid. Keep the sealing surfaces clear. Use only the closure procedure specified for that model, and do not shake a sealed mug of hot coffee.
- Inspect before carrying. Wipe the exterior, check for moisture around the lid, and keep the mug upright. Do not use a hot-coffee inversion test to establish whether a mug is leakproof.
- Drink when safely stopped. Secure the container before driving and avoid adjusting the lid while the vehicle is moving.
Expected result: you leave with a consistent serving in a correctly closed container, without spilled coffee on the rim or an untested assumption about bag safety.
For the first outing, carry the mug upright and separate from electronics or important papers. If your intended use requires a sealed container inside a bag, verify that exact use in the manufacturer’s instructions before relying on it.
A practical 2026 routine ends at the sink, not at the last sip. Empty the mug after use and clean it as directed so tomorrow’s coffee does not inherit today’s residue.
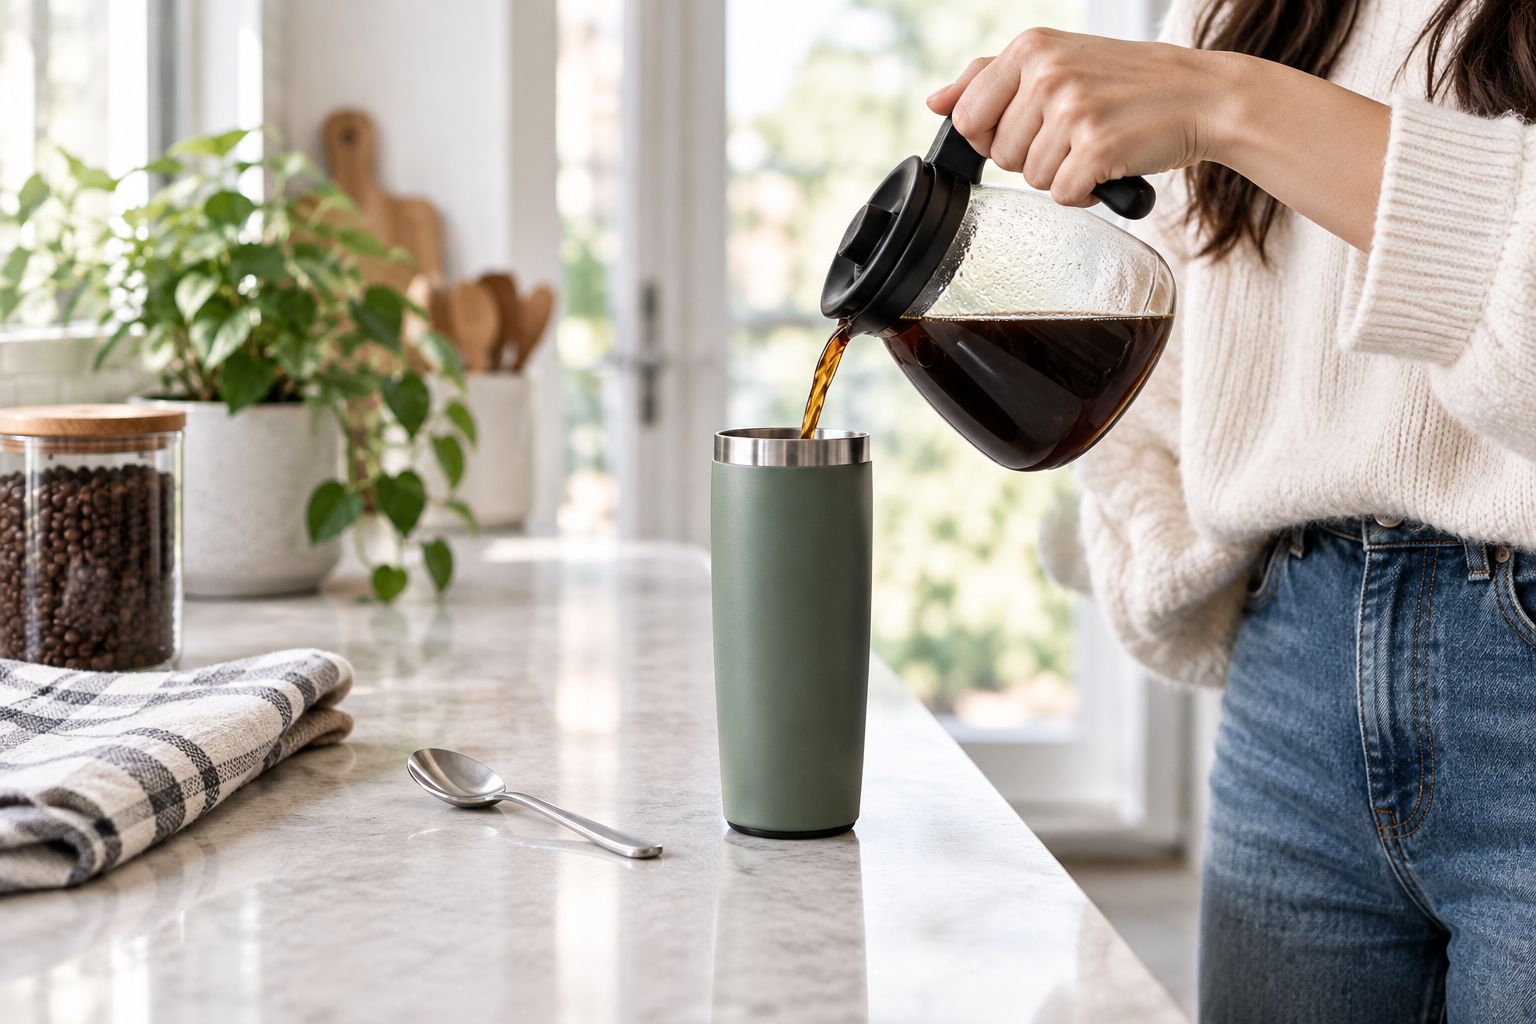
Iced coffee variation for warm-weather travel
Best for cold-coffee drinkers: use chilled coffee and a cold-drink-compatible mug rather than pouring a full hot serving over ice. Ice changes both the available volume and the final strength as it melts.
The advantage is a drink prepared around its final temperature. The trade-off is planning: chilled coffee requires preparation ahead of departure, and ice still changes the drink while you carry it.
- Prepare the coffee ahead. Brew coffee using a method you already trust, or prepare cold brew according to a suitable recipe. Follow food-safety guidance when cooling and refrigerating it.
- Confirm the mug’s suitability. Check cold-drink compatibility and assemble the clean lid. Do not assume every closure works the same way with hot and cold drinks.
- Add a repeatable amount of ice. Use the same mold and fill level during your trial so the displacement stays consistent.
- Pour in chilled coffee. Stop below the fill limit, leaving space for milk if required. Taste before closing.
- Adjust the next batch, not the whole routine. If melting ice makes the drink weak, change the coffee strength or ice amount while keeping the other variables fixed.
Expected result: the drink starts cold, fits the container, and has a flavor balance you can reproduce.
Cold brew concentrate and ready-to-drink cold brew are not interchangeable quantities. Follow the recipe’s dilution instructions before adding the drink to your mug. Otherwise, a serving that fits physically can still taste much stronger than intended.
Troubleshooting your travel coffee
The coffee tastes weak after filling
Check for leftover prewarming water first. Then compare your coffee dose, brewing water, milk, and ice with the recorded recipe; each added liquid changes the final balance.
Fix: repeat the established recipe in a separate clean cup. If that tastes right, correct the transfer or additions rather than changing the beans.
The coffee tastes stale despite fresh beans
Inspect the lid and seals for retained coffee oils or old milk. Smell the clean, dry lid separately from the empty mug to help locate the problem.
Fix: clean removable components as directed, rinse thoroughly, and let them dry before reassembly. Replace damaged parts according to the manufacturer’s guidance.
Coffee appears around the lid
Overfilling, a poorly seated seal, debris, and damaged components can interfere with closure. A mug that controls splashes also needs different handling from one explicitly designed for sealed transport.
Fix: stop carrying the filled mug, empty it safely, and inspect the assembly. Do not tighten damaged parts harder or assume a new gasket makes an unsuitable lid bag-safe.
The drink is uncomfortable to sip
A mug that retains heat can keep coffee hotter than you expect. The outside of an insulated container does not reliably tell you the drink’s temperature.
Fix: let the coffee reach a comfortable drinking temperature while stationary, following the mug’s instructions. Never test a hot drink with a large first sip.
The mug does not fit your routine
A handle, tall body, or wide base can conflict with the space where you intended to use it. Capacity alone does not establish a suitable fit.
Fix: check the mug against your actual carrying space before brewing. Choose the container around your route and handling needs, not around the biggest serving offered.
Customize your workflow
Once the basic routine works, change one variable at a time. Compare roast preferences while holding the brewing recipe steady, or compare serving sizes while keeping your coffee-to-water ratio unchanged.
For a cold-coffee routine, use the cold brew maker workflow to work on preparation before adjusting your travel container. That keeps brewing decisions separate from ice, milk, and carrying decisions.
Keep a short 2026 recipe note with your coffee dose, brewing water, finished serving, and additions. Record what you actually enjoyed, not just what fitted inside the mug. Brew4ufresh coffee and mug shopping becomes simpler when you already know the brewing style and serving format you need.
FAQ
What is the best routine for travel mug coffee on the go?
Measure your serving, prepare a clean compatible mug, brew a repeatable recipe, and close the container according to its instructions. Keep it upright unless its manufacturer explicitly permits another carrying position.
Should I preheat my travel mug before adding coffee?
Prewarm your travel mug if its manufacturer permits it. Empty the warming water completely before adding coffee so you do not dilute the drink.
Can I brew coffee directly into a travel mug?
Brew directly into a travel mug only when your brewer’s instructions and physical clearance permit it. Otherwise, brew into a suitable vessel and transfer the measured serving carefully.
Is a travel mug with a lid automatically leakproof?
No, a lid does not automatically make a travel mug leakproof. Check the manufacturer’s closure and carrying instructions before putting a filled mug inside a bag.
Why does my travel mug coffee taste different from coffee in a ceramic cup?
Temperature, retained residue, and added water can change the coffee you taste. Compare the same brew in clean containers before deciding that the beans or mug material are responsible.
Can I put iced coffee in the same mug I use for hot coffee?
Use the same mug for iced coffee only if its instructions permit cold drinks. Clean it first and leave room for ice, milk, and the lid.
Which Brew4ufresh mug is relevant to coffee on the go?
Brew4ufresh lists a 25 oz & 40 oz Stainless Travel Mug. Check its current dimensions, closure details, and care instructions against your carrying needs rather than assuming the title establishes leakproof performance.
One last thing
Test tomorrow’s recipe at your destination, not just beside the brewer. Taste the coffee after your normal journey while safely stopped, and note whether the problem is temperature, strength, or residue.
A cup that tastes right immediately after brewing is only the starting point. Your best travel routine is the one that still gives you the drink you want when you actually have time to enjoy it.