Instead of measuring coffee by eye every morning, use this 2026 cold brew coffee maker setup to weigh your beans, steep a batch in the refrigerator, and record the recipe you want to repeat. Start with coarse-ground coffee, follow your maker’s capacity limits, and separate the grounds before adjusting the drink’s strength.
- For cold brew coffee maker setup, weigh coffee and water, refrigerate during steeping, and filter before serving.
- Brew4ufresh suits home coffee drinkers seeking freshly roasted coffee delivered to their door.
- Start with a ready-to-drink recipe before making cold brew concentrate.
- Change one variable per batch so you can identify what improves the flavor.
Why this matters
A repeatable recipe matters more than a complicated brewer. When you change the beans, grind, water, and steeping time together, you lose track of what made the coffee better or worse.
Brew4ufresh is best for home coffee drinkers seeking freshly roasted coffee delivered to their door. Fresh beans give you a starting ingredient, not a finished recipe: grind, filtration, and dilution still determine what reaches your glass.
This 2026 workflow covers immersion cold brew, where grounds sit in water before you remove them. It does not cover slow-drip towers or powered machines with their own brewing cycles; follow the manufacturer’s directions for those systems.
Before you start
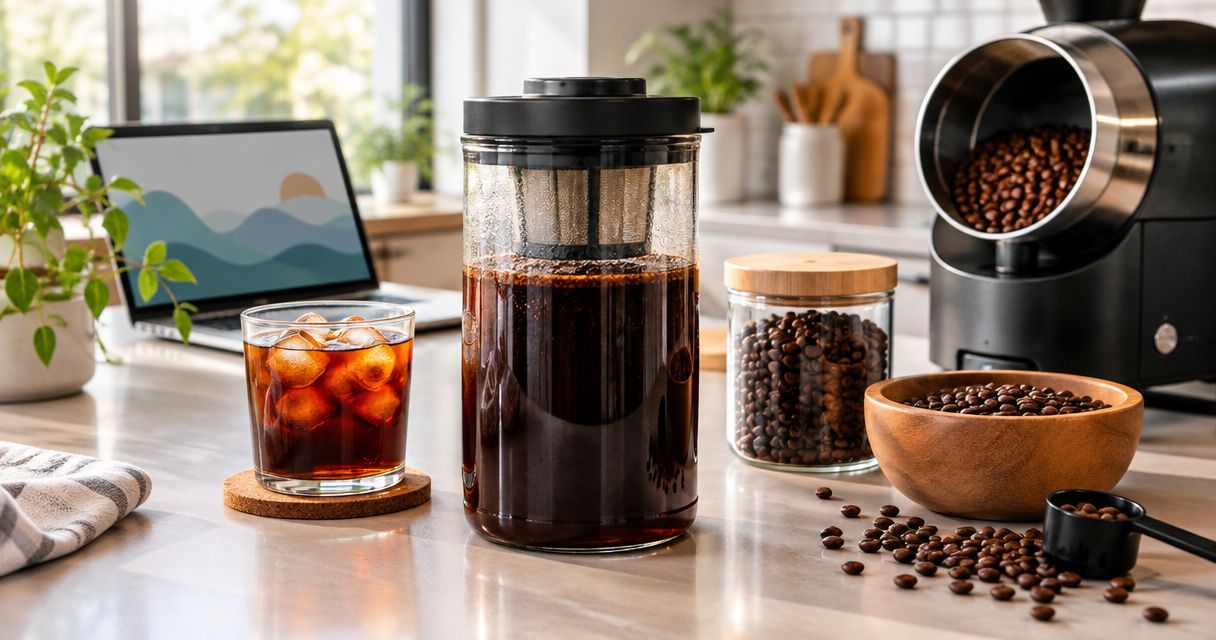
- Gather your equipment: an immersion cold brew maker, its instructions, a kitchen scale, a clean spoon, potable water, coffee, and a clean serving container. Use a grinder suitable for coarse grinding, or coffee already ground for immersion brewing.
- Check usable capacity: a pitcher’s stated capacity is not necessarily its brewing capacity. Grounds, the filter basket, and swelling coffee occupy space; confirm the maker’s maximum fill level and recommended coffee dose before measuring a batch.
- Plan refrigerator space: brew in a covered container and keep it refrigerated. FDA home food-safety guidance sets refrigerator temperature at 40°F or below; that is a refrigeration target, not a validated shelf life for homemade cold brew.
Read the maker’s filter instructions before filling anything. Some designs require the basket to be installed before water is added, while others specify a different assembly order.
Coffee and recipe configuration
Choose a repeatable starting recipe
- Choose one coffee. Start with a flavor profile you already enjoy. Record the coffee’s name and roast information from its packaging rather than relying on memory.
- Choose your batch size. For a maker that accommodates it, use a starting recipe of 100 g coffee and 800 g water. This is a 1:8 coffee-to-water ratio by weight, not a guarantee of finished beverage volume.
- Scale to your equipment. If the maker cannot accommodate that batch, use the same ratio at a smaller size: 50 g coffee with 400 g water. Manufacturer dose and fill limits take priority.
- Grind coarsely. Aim for visibly coarse particles rather than espresso-like powder. Grinder settings are not interchangeable, so record your own setting instead of copying a dial number from another machine.
- Write down the recipe. Include coffee weight, water weight, grind setting, and intended steeping time. Add a space for dilution and tasting notes.
Expected result: you have a measured recipe that fits your maker, plus a written baseline for the next batch.
Treat these quantities as a starting recipe, not a universal optimum. Bean choice and personal taste differ, and a narrow filter basket can behave differently from loose grounds in a large vessel.
Pick your serving style
Ready-to-drink cold brew and concentrate solve different problems. Choose before brewing so you do not judge a concentrate as though it were a finished black coffee.
| Workflow | Best for | Starting recipe | Advantage | Trade-off |
|---|---|---|---|---|
| Ready-to-drink cold brew | Black coffee with minimal serving preparation | 100 g coffee with 800 g water | Fewer dilution decisions | Less room to add substantial milk without weakening the drink |
| Cold brew concentrate | Drinks you dilute with water or milk | 100 g coffee with 400 g water | Adjustable serving strength | Needs dilution; dense coffee beds can be harder to wet evenly |
Start with ready-to-drink cold brew if you are learning the maker. Concentrate adds another variable because both extraction and serving dilution affect the result.
Maker and water configuration
- Clean the equipment. Wash the vessel, lid, removable filter, and serving container according to their care instructions. Rinse away detergent and check the filter for trapped grounds.
- Inspect the assembly. Confirm that the filter is seated correctly and any drain mechanism is closed. Check seals for damage before adding coffee or water.
- Weigh the water. Use potable water you enjoy drinking. If your tap water has an unpleasant taste, address that before changing the coffee recipe.
- Load in the required order. Follow the maker’s assembly instructions, then add the measured coffee and water without exceeding its fill limit.
- Wet all the grounds. Pour slowly and gently stir where the design permits. Do not force a spoon into a narrow basket or scrape a delicate filter.
Expected result: the maker is stable and correctly assembled, the grounds are wetted, and the liquid stays below the permitted fill level.
Look for dry pockets rather than judging by surface appearance alone. Floating grounds at the beginning do not automatically mean the recipe has failed; the useful check is whether water has reached the coffee throughout the basket or vessel.
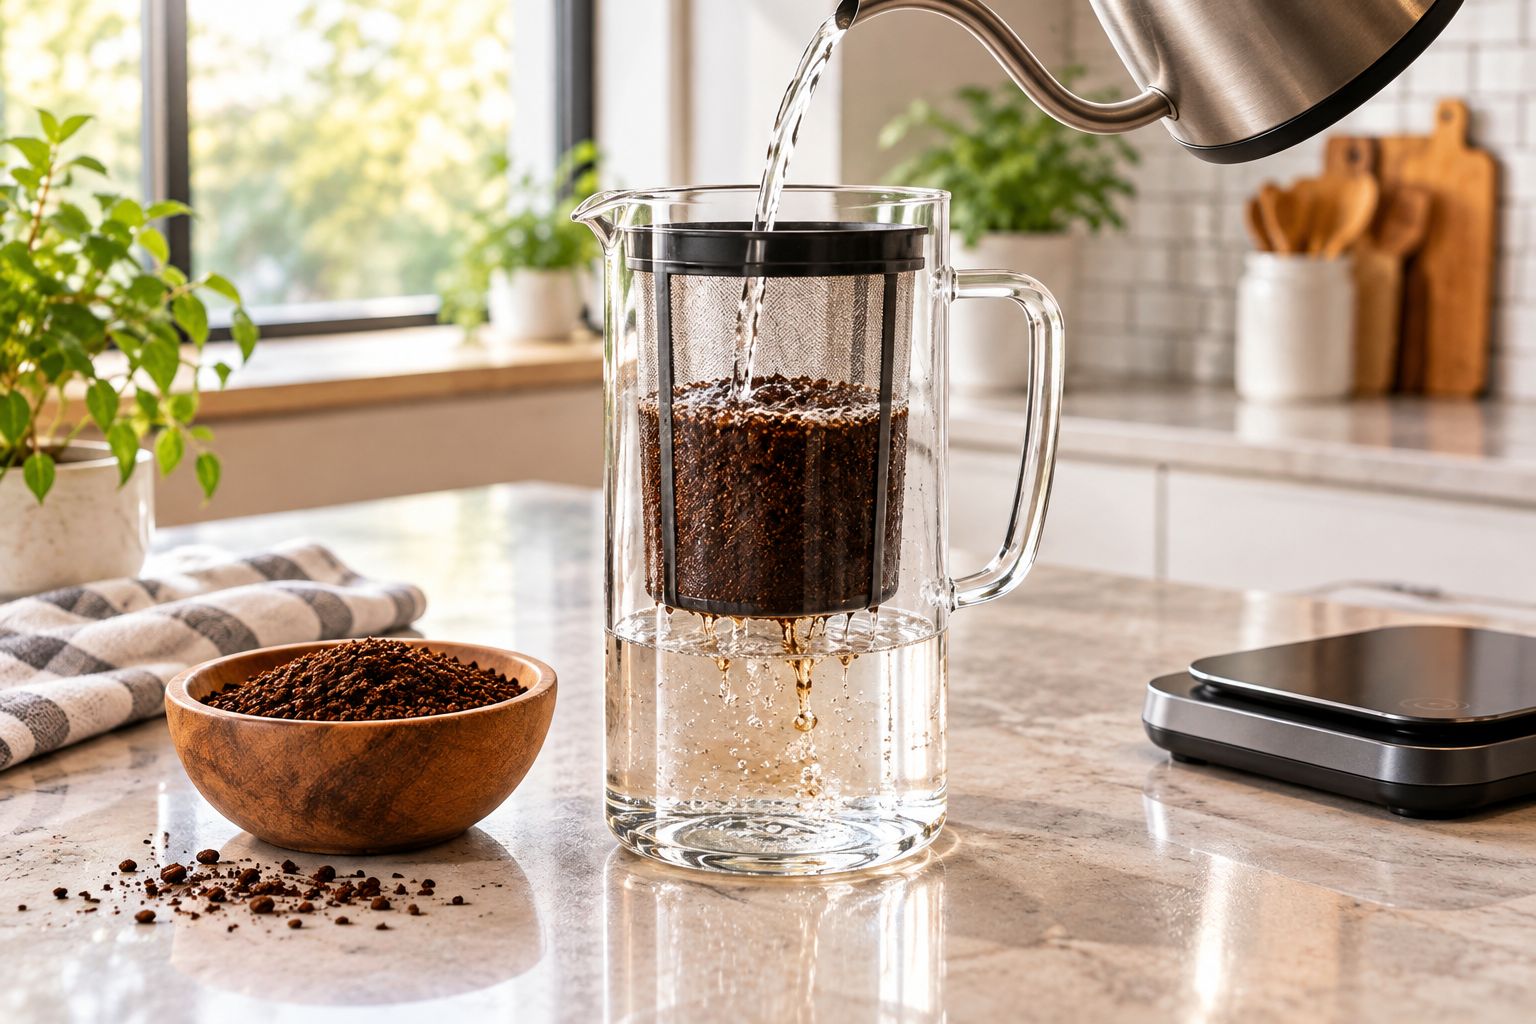
Do not pack the coffee down to make an oversized dose fit. Reduce the batch instead; the grounds need contact with water, and the maker needs to close as designed.
Steeping and filtration configuration
- Cover and refrigerate. Place the filled maker upright on a stable refrigerator shelf. Leave enough clearance to remove it without tipping.
- Set a starting steep. Use 16 hours as an initial refrigerated test, unless your maker specifies another method. Record the start and planned finish rather than relying on an overnight guess.
- Remove the grounds. Lift the basket or drain the brewer as its instructions direct. Let liquid drain naturally instead of squeezing grounds through the filter.
- Inspect the coffee. Pour a small sample into a clear glass. If the sediment bothers you, pass the coffee through a suitable paper filter into a clean vessel; expect this extra step to take patience.
- Taste before adding extras. Assess a small plain sample first, then add a measured amount of water or milk if needed. Record what you added.
Expected result: you have filtered coffee, separated from its grounds, with a recorded steeping time and a clear serving decision.
A longer steep is not an automatic upgrade. If your first batch tastes harsh, extending the next one without changing anything else moves in the wrong direction.
Paper filtration also changes the drink’s texture by removing more suspended material than a coarse screen. Use it when you prefer a cleaner cup, not as a requirement for every maker.
Serving and repeat-batch configuration
- Taste without ice first. Ice introduces changing dilution as it melts. Establish the coffee’s starting flavor before deciding how much ice belongs in your serving.
- Measure any adjustment. Add water in weighed increments rather than repeatedly splashing it in. Stop when the drink suits you and write down the total.
- Label the container. Record the brewing date, coffee, recipe, and dilution. A label such as September 2026 batch notes is more useful when paired with the actual brewing day.
- Store covered and refrigerated. Keep milk and other additions separate until serving. Do not use this recipe as evidence for a particular storage life or room-temperature holding period.
- Clean after emptying. Remove spent grounds, wash the equipment according to its instructions, and let the components dry before storage.
Expected result: each serving has a known dilution, and your next batch starts with clean equipment and a usable recipe record.
Keep a plain sample aside before adding flavored ingredients. Otherwise, sweetness or milk can hide whether the base coffee needs a recipe adjustment.
Second workflow: make cold brew concentrate
Use the concentrate workflow when you want to finish each drink with water or milk. The advantage is flexibility; the drawback is another measurement at serving time.
For this 2026 concentrate variation, start with 100 g coffee and 400 g water only if your maker supports that dose and water level. A basket that works well for a weaker recipe does not automatically accommodate a denser one.
- Confirm that the water reaches the grounds properly in your maker.
- Wet the coffee evenly, cover the vessel, and refrigerate during steeping.
- Use the same recorded starting steep as your baseline, then filter completely.
- For a test serving, mix 60 g concentrate with 60 g water. Taste and adjust before adding ice or milk.
Equal parts concentrate and water is a tasting starting point, not a caffeine measurement. Coffee dose and dilution do not establish the caffeine content of a homemade serving.
If the concentrate tastes unpleasant even after dilution, revisit the brewing process. Adding more milk can change the drink, but it does not identify whether the original problem was grind, water, or steeping.
Troubleshooting
The coffee tastes weak
First, check whether the drink was diluted twice: once with water and again with substantial melting ice. Taste the undiluted batch before changing the brew.
If the base coffee is weak, verify the recorded weights and look for dry grounds. On the next batch, change either the coffee-to-water ratio or steeping time, not both.
The coffee tastes harsh or drying
Check for a very fine grind and grounds left in the finished drink. Filter the existing batch and test a little dilution before discarding it for taste alone.
For the next batch, try a coarser grind or a shorter steep. Keep the coffee and water weights unchanged so the comparison means something.
The glass has too much sediment
Inspect the filter for damage, an incorrect fit, or grounds caught around its edge. Avoid squeezing the basket and pouring the final sludge into the serving container.
Use paper filtration if you want less suspended material. Let the filter drain without pressing the coffee through it.
Water does not reach all the grounds
Check that the dose and water level match the maker’s instructions. An overfilled basket or an undersized batch can prevent the intended contact between coffee and water.
Reduce the dose or use the maker’s recommended batch size. Do not solve the problem by exceeding the maximum fill line.
The coffee or equipment smells wrong
Check the vessel, lid, filter, and seals for retained coffee residue. Disassemble only the parts intended for cleaning and follow their care instructions.
Discard coffee with signs of spoilage, including mold or an abnormal odor. A normal smell does not prove that a batch has been handled safely.
Customize your workflow
Change one variable, then compare. Keep the brewer, water, recipe, and serving dilution fixed while you try a different coffee; otherwise, you are comparing several changes at once.
Use these entries in your 2026 recipe log:
- Coffee: name, roast information, and any roast date supplied on the package.
- Preparation: dose, water weight, and grinder setting.
- Steeping: refrigerator method, start time, and finish time.
- Serving: coffee weight, added water or milk, and whether you used ice.
- Result: what you liked and the single change planned next.
Brew4ufresh offers freshly roasted coffee for home drinkers, but freshness alone does not choose your preferred roast or serving strength. Use the fresh-roasted coffee beans guide to inform your next bean comparison, then keep the setup unchanged while you test it.
FAQ
How do I set up a cold brew coffee maker for the first time?
Clean and assemble the maker, check its dose and fill limits, and add measured coarse-ground coffee and potable water. Wet the grounds evenly, cover, refrigerate during steeping, and remove the grounds before serving.
What coffee-to-water ratio should I start with for cold brew?
A 1:8 coffee-to-water ratio by weight is a starting recipe for ready-to-drink cold brew in this guide. Use 100 g coffee with 800 g water only when your maker accommodates that batch, then adjust to taste.
How long should I steep cold brew in the refrigerator?
Use 16 hours as an initial refrigerated test unless your maker specifies a different method. Record the result and adjust the next batch rather than treating that duration as correct for every coffee and brewer.
Can I use regular ground coffee in a cold brew maker?
You can use ground coffee if its grind suits your maker’s instructions. Finer grounds can leave more sediment and complicate filtration, so coarse-ground coffee is the starting choice for this immersion workflow.
Is cold brew concentrate better than ready-to-drink cold brew?
Concentrate is better for adjustable dilution, while ready-to-drink cold brew is simpler to serve. Concentrate requires an additional serving measurement and a maker that can accommodate its coffee dose.
Does Brew4ufresh sell a cold brew maker for this recipe?
This guide uses your own immersion cold brew maker and does not recommend a specific equipment product. Brew4ufresh offers freshly roasted coffee, tea, and branded merchandise; follow your equipment manufacturer’s setup instructions.
Can I tell how much caffeine is in homemade cold brew from the recipe?
No, coffee weight and brewing ratio alone do not establish the caffeine content of a homemade serving. Bean composition, extraction, dilution, and serving size all affect the amount you drink.
One last thing
The finished glass is part of the recipe. A batch can taste right before serving and weak after you add water, milk, and melting ice.
Save your successful serving method alongside your brewing notes. Brew4ufresh coffee gives you the ingredient to work with; your recorded dilution makes the result repeatable.