Instead of guessing your grind, scooping beans, and changing your pour every morning, use this 2026 pour over coffee setup guide to build a repeatable fresh-roast routine. Weigh your coffee and water, brew one baseline recipe, and adjust one variable after tasting.
- This pour over coffee setup guide starts with weighed coffee, a matching filter, and a repeatable brewing recipe.
- Brew4ufresh suits home coffee drinkers seeking freshly roasted coffee delivered to their door.
- Start with medium-ground beans, then adjust grind size to improve extraction without changing every setting.
- Fresh-roast coffee needs consistent storage and brewing; a recent roast date alone does not guarantee a balanced cup.
Why this matters
Pour-over gives you control over water delivery, contact time, and coffee strength. That control also creates more ways to make an inconsistent cup. Measuring your inputs makes the next adjustment useful rather than another guess.
Brew4ufresh is best for home coffee drinkers seeking freshly roasted coffee delivered to their door. You can explore Brew4ufresh for coffee, but choose beans around the flavors you enjoy rather than expecting freshness to fix an unsuitable roast.
For your 2026 brewing routine, separate two decisions: what coffee to buy and how to extract it. Keep the brewing method steady while learning a new bag. Otherwise, you cannot tell whether a different taste comes from the beans or your technique.
Before you start
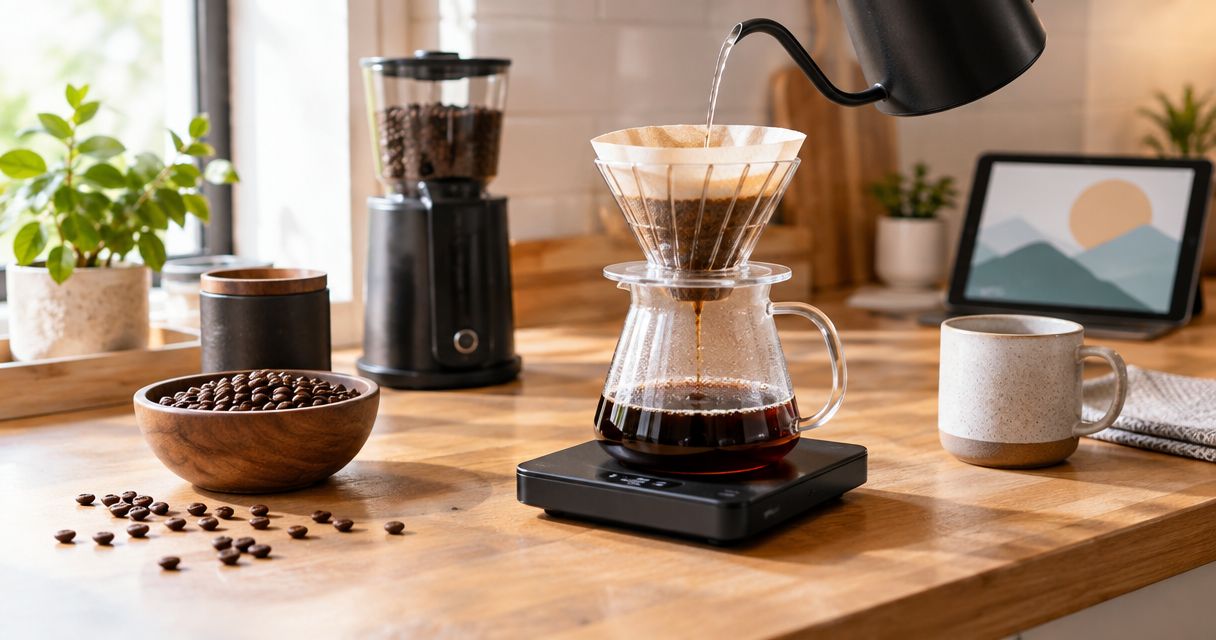
- Gather your equipment: a pour-over dripper, its matching paper filters, a stable mug or server, a scale, a timer, and a kettle. A burr grinder gives you control over grind size; preground coffee removes that adjustment.
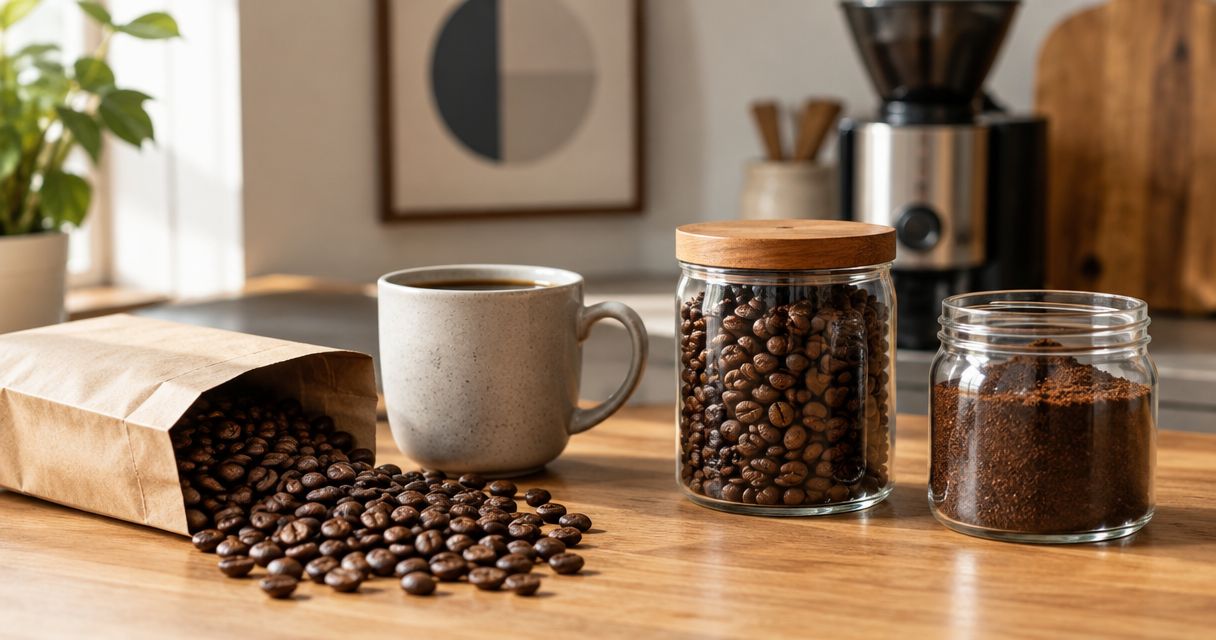
- Check your coffee and water: use whole beans if you have a grinder and clean drinking water without an obvious off taste. Read any roast-date, storage, and brewing information supplied with the bag.
- Check fit and clearance before heating water: a filter must match the dripper, and the dripper must sit securely while allowing air to escape from the receiving vessel. A poor fit can cause folding, restricted drainage, or instability.
Do a dry assembly before your first 2026 brew. Set the dripper on the empty vessel and check that the scale supports everything securely. Leave enough room in the vessel for the finished drink; brewing-water weight is not the same as final beverage volume because the grounds retain water.
Coffee and recipe configuration
Choose a starting flavor
There is no universally best roast for pour-over. Pick a flavor direction first, then use grind and water delivery to make that coffee taste balanced.
| Coffee option | Best for | Advantage | Trade-off |
|---|---|---|---|
| Light roast | Drinkers seeking brighter acidity and origin character | Highlights delicate flavor differences | Requires careful extraction; insufficient extraction can taste sharply sour |
| Medium roast | Drinkers seeking a balance of roast character and acidity | Gives you a useful starting point for learning | Does not deliver the pronounced roast character some drinkers want |
| Dark roast | Drinkers who enjoy pronounced roast flavors | Emphasizes familiar roasted notes | Can taste bitter when extraction is pushed too far |
Roast labels are not standardized flavor guarantees. Origin, processing, and brewing also affect the cup, so use the table as a starting preference rather than a promise.
Set your baseline recipe
- Weigh the dose. Use 20 g of coffee for this starting recipe. Record the bag and roast information alongside the dose.
- Set the water target. Plan to pour 320 g of brewing water, giving a coffee-to-water ratio of 1:16 by mass. Heat extra water separately for rinsing the filter.
- Choose the grind. Begin at a medium setting suitable for filter coffee. Grinder markings differ, so record your own setting rather than copying an unrelated grinder's number.
- Set the temperature. Start with water at 93°C, about 199°F, if your kettle provides temperature control. This is a baseline, not a required temperature for every coffee.
Expected result: you have a written recipe with a fixed dose, water target, grind setting, and starting temperature. You can now change one input without losing track of the others.
Filter and brewing-station configuration
- Fit the filter. Fold it only where the filter manufacturer's instructions require. Seat it against the dripper without crushing the base or blocking the outlet.
- Rinse and warm. Pour hot water through the empty filter to wet it and warm the dripper and server. Discard that rinse water before adding coffee.
- Grind and load. Grind the measured beans shortly before brewing. Add the grounds to the filter and gently level the bed without compressing it.
- Reset the scale. Place the complete assembly on the scale and zero it. Position the timer where you can see it without reaching across hot equipment.
Expected result: the server contains no rinse water, the coffee bed is level, and the scale reads zero before brewing begins. The station should remain stable when you lift and return the kettle.
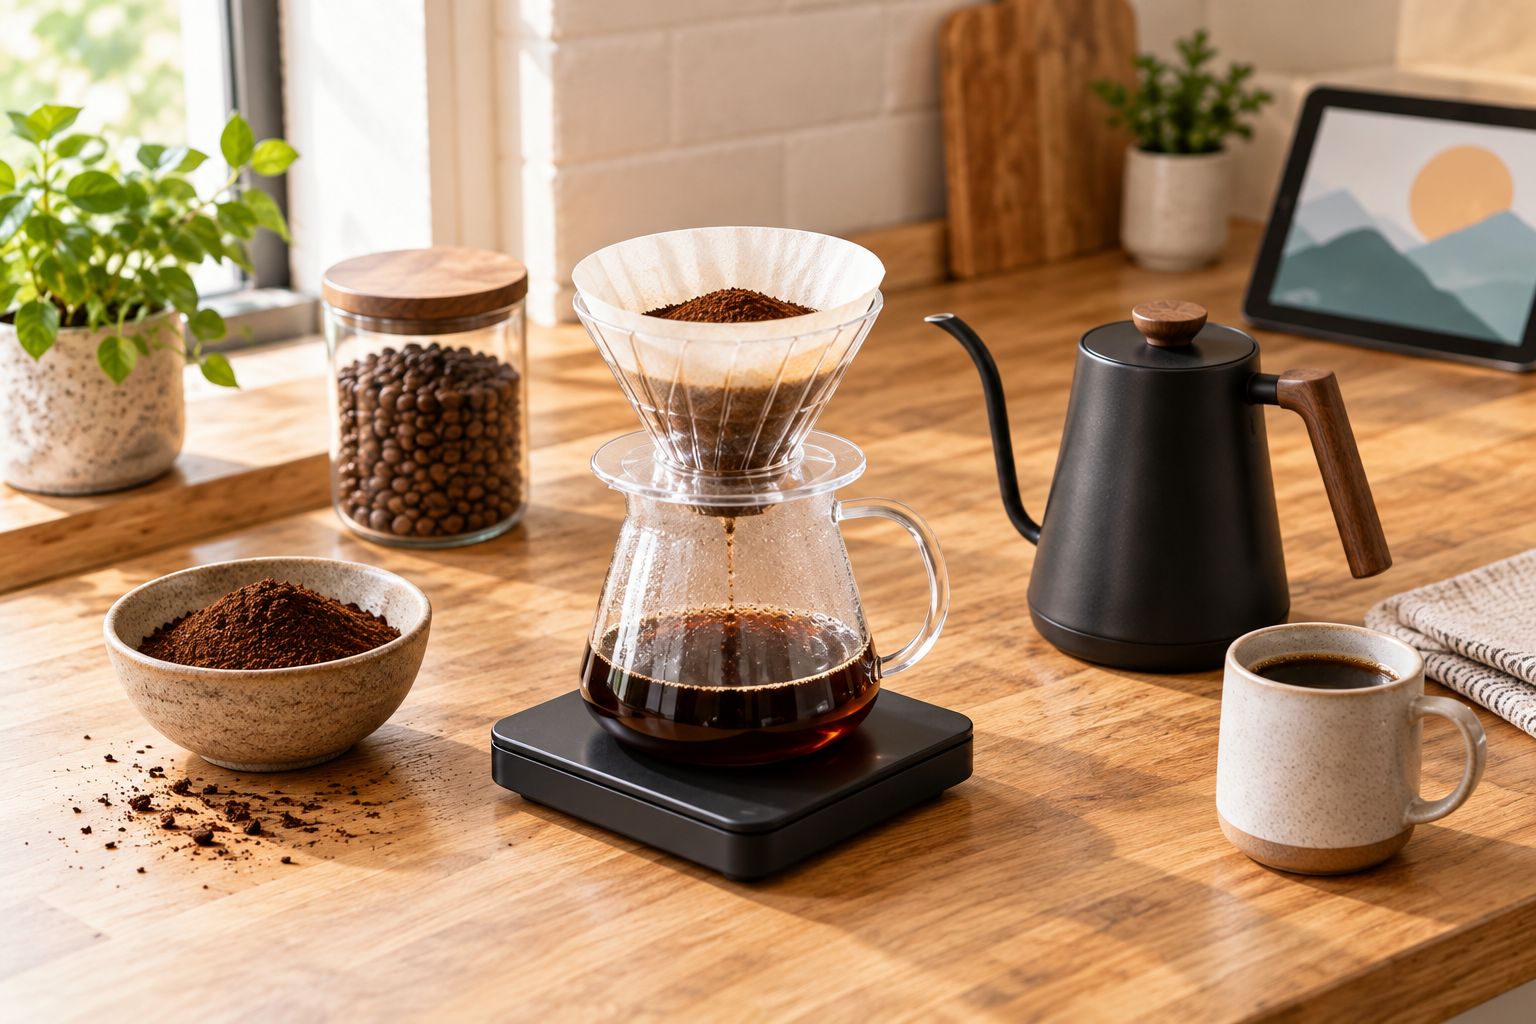
A gooseneck kettle is best for controlled, gentle pours, but it adds another piece of equipment. A standard kettle works when you can pour steadily without flooding the filter. Control matters more than the shape of the spout.
Pour and tasting configuration
Brew the baseline
- Wet the grounds. Start the timer and pour until the scale reads 60 g. Aim to wet the full bed rather than repeatedly striking the center.
- Allow the bloom. Wait until approximately 45 seconds have elapsed from the start. Bubbles during this stage reflect gas escaping; their size is not a freshness score.
- Continue the pour. Add water in gentle pulses until the scale reaches 320 g total. Keep the water level below the filter rim and avoid pouring directly down the paper walls.
- Let the dripper drain. Treat roughly 3–4 minutes total brew time as an initial observation window, not a pass-or-fail rule. Record the actual time without forcing the brew to match it.
- Mix and taste. Remove the dripper safely, swirl the server, and let the coffee cool enough to taste comfortably. Evaluate flavor before deciding what to change.
Expected result: you have brewed one measured cup and recorded its total time. The taste, not a perfect timer reading, determines the next adjustment.
Record the result
Write down the coffee, dose, water weight, grind setting, temperature, total brew time, and a short taste note. Useful descriptions include thin, sharply sour, balanced, bitter, or drying. A vague note such as bad coffee does not identify a useful next move.
Follow this adjustment sequence: Taste, Choose change, Repeat recipe, Compare cups. Change grind first when extraction appears uneven or incomplete; change the ratio when the cup is balanced but too strong or weak.
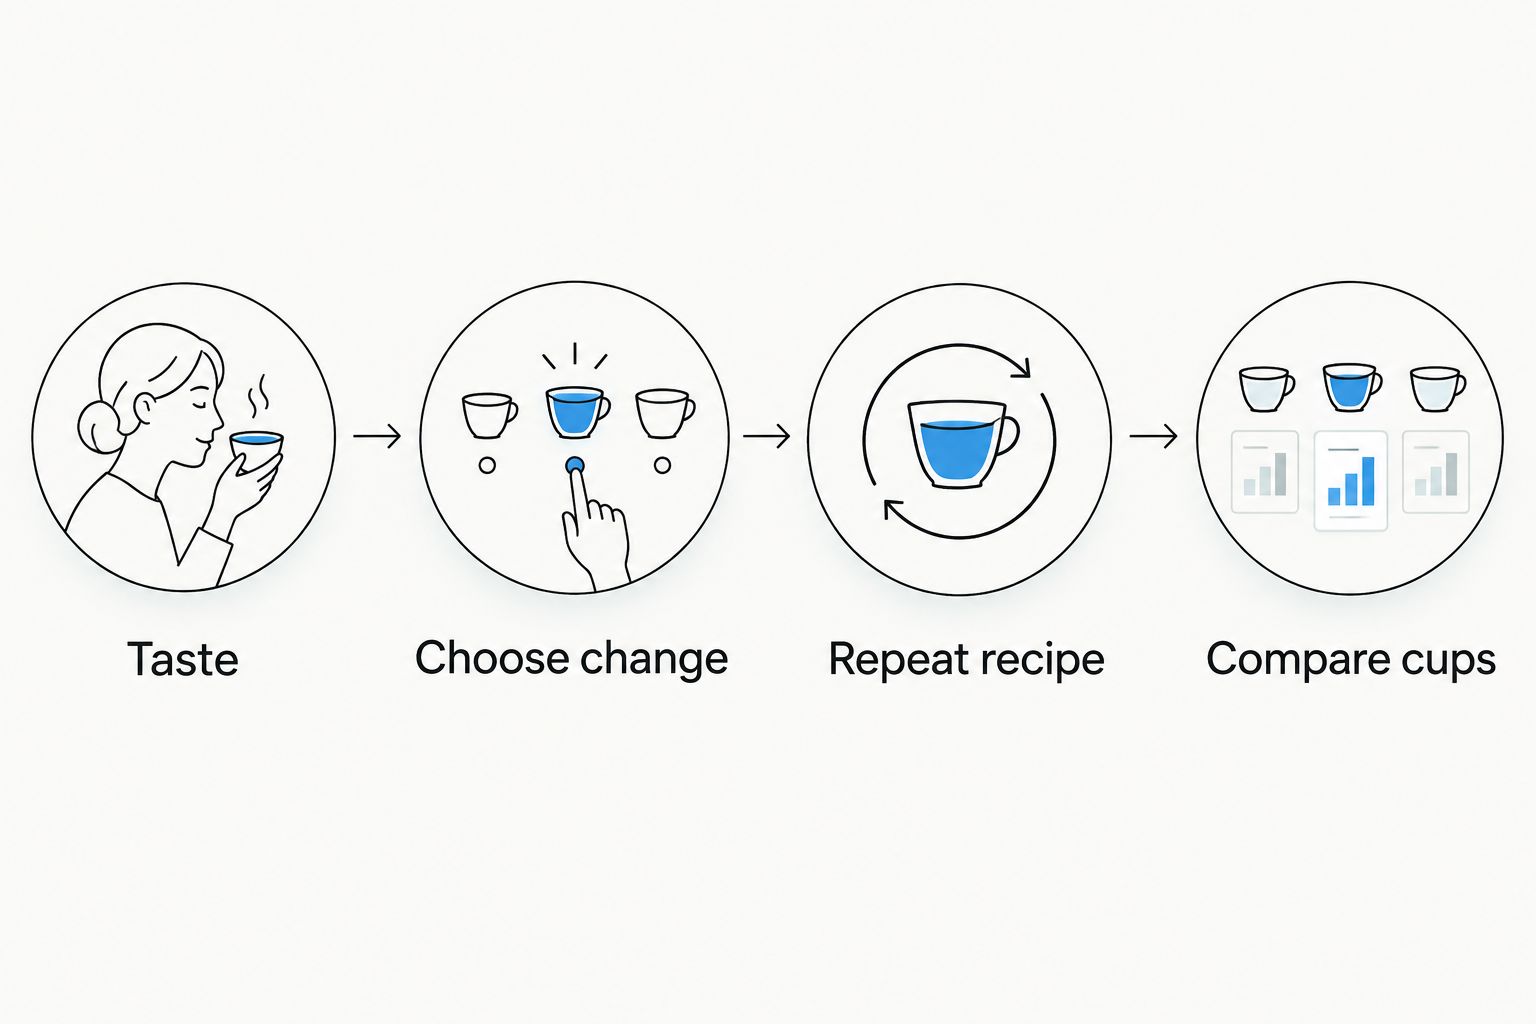
Do not judge the coffee only while it is very hot. Taste again as it cools, using a clean cup without old coffee residue. Keep the same tasting routine when comparing brews.
Repeat the workflow whenever you open a new bag
A new bag is a reason to check your recipe, not rebuild your entire setup. Keep your established dose and ratio, then assess whether the new coffee needs a grind or temperature adjustment.
- Record the new bag's identifying information and any stated roast date.
- Brew the existing recipe without changing the grind preemptively.
- Compare the taste and drainage with your previous notes.
- Adjust one variable for the next brew and record the result.
For your 2026 coffee rotation, keep separate notes for coffees you buy repeatedly. A grinder setting that suits one bag does not become a permanent setting for every origin or roast.
Freshly roasted coffee releases carbon dioxide after roasting. That gas can complicate wetting and extraction, so immediately after roasting is not automatically the best brewing moment. Follow the roaster's resting guidance when supplied rather than imposing one resting period on every coffee.
For more bean-selection context, read the guide to fresh-roasted coffee beans to buy online. Keep freshness information separate from flavor preference: you still need to enjoy the coffee's roast and character.
Troubleshooting
The coffee tastes sharply sour and thin
First confirm the dose and water total. If the measurements are correct, try a slightly finer grind while holding temperature and pouring steady. If the sourness remains clean and fruit-like rather than harsh, consider whether you simply prefer a less acidic flavor profile.
The coffee tastes bitter or leaves a drying sensation
Check whether you ground much finer or agitated the slurry more than usual. Try a slightly coarser grind and gentler pouring, changing only one at a time. Darker roast character can also taste bitter, so distinguish a roast preference from a brewing problem.
The filter drains unusually slowly
Check filter fit, the receiving vessel's air gap, and whether the grind changed. Fine particles and excessive agitation can restrict flow through the coffee bed. Do not stir harder to rescue a slow brew; simplify the next pour and adjust grind if needed.
The cup tastes weak but otherwise balanced
Confirm that rinse water was discarded and the scale was zeroed correctly. For the next brew, reduce brewing water while keeping the coffee dose fixed. Strength and extraction are different: a balanced but dilute cup does not automatically need a finer grind.
The flavor changes even though the recipe does not
Check water, grinder cleanliness, storage, and measuring habits before replacing equipment. Repeatedly opening a poorly sealed bag exposes coffee to air and moisture. Store beans sealed, away from heat and light, and avoid keeping them beside the kettle or stove.
Customize your workflow
Once your baseline tastes good, adapt it to your actual morning. Prepare clean equipment ahead of time, keep filters beside the dripper, and store your recipe where you brew. Grind only the dose you are about to use.
For your 2026 setup, spend attention before adding accessories. A scale helps you repeat inputs, but it adds a measurement step. Manual pouring gives you control, but it requires your attention throughout brewing; an unattended routine calls for a different method.
Brew4ufresh sells freshly roasted coffee, tea, and merchandise, but the brewing decision stays separate from the shopping decision. Choose coffee for flavor and choose serving equipment for your routine. A new mug does not correct uneven extraction.
FAQ
What do I need for a basic pour-over coffee setup?
You need a dripper, matching filters, a suitable mug or server, a kettle, coffee, a scale, and a timer. A grinder adds control over extraction; preground coffee limits that adjustment.
What is a good starting ratio for pour-over coffee?
Use 1:16 by mass as a starting recipe: 20 g of coffee and 320 g of brewing water. Adjust the ratio after tasting rather than treating it as the correct ratio for every coffee.
Do I need a gooseneck kettle for pour-over?
A gooseneck kettle is not essential, but it makes controlled pouring easier. A standard kettle works if you can pour gently and keep the water below the filter rim.
Can I use freshly roasted coffee straight away?
You can brew freshly roasted coffee, but brewing immediately after roasting is not automatically best. Coffee releases gas after roasting; follow any resting guidance supplied by the roaster.
Why does my pour-over coffee taste sour?
Sharp sourness with a thin body can indicate insufficient extraction. Confirm your measurements, then try a slightly finer grind while keeping the rest of the recipe steady.
Should I change grind size when I open a new coffee bag?
Brew your baseline recipe first, then change grind size according to taste and drainage. A different bag does not necessarily require a different setting.
Is Brew4ufresh a fit for home pour-over drinkers?
Brew4ufresh suits home drinkers looking for freshly roasted coffee delivered to their door. Choose a coffee whose roast and flavor description match your preferences, then adjust your brewing recipe by taste.
One last thing
Keep the best-tasting recipe, not the neatest-looking coffee bed. An attractive finished bed does not prove that the cup tastes balanced. Let your 2026 brew notes describe what you drank, not just what the dripper looked like.