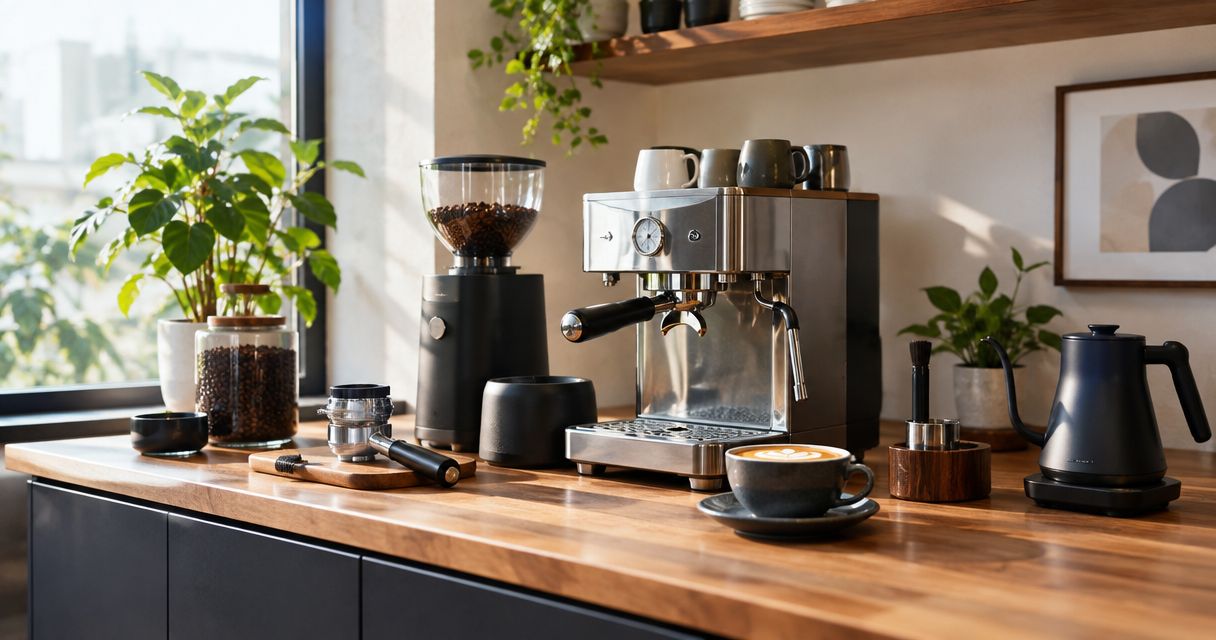
Instead of hunting for filters, guessing your coffee dose, and clearing counter space every morning, build your home coffee bar setup around a repeatable sequence: measure, grind, brew, and reset. This 2026 guide shows you how to arrange the station, choose a brewing method, and record a recipe you can repeat.
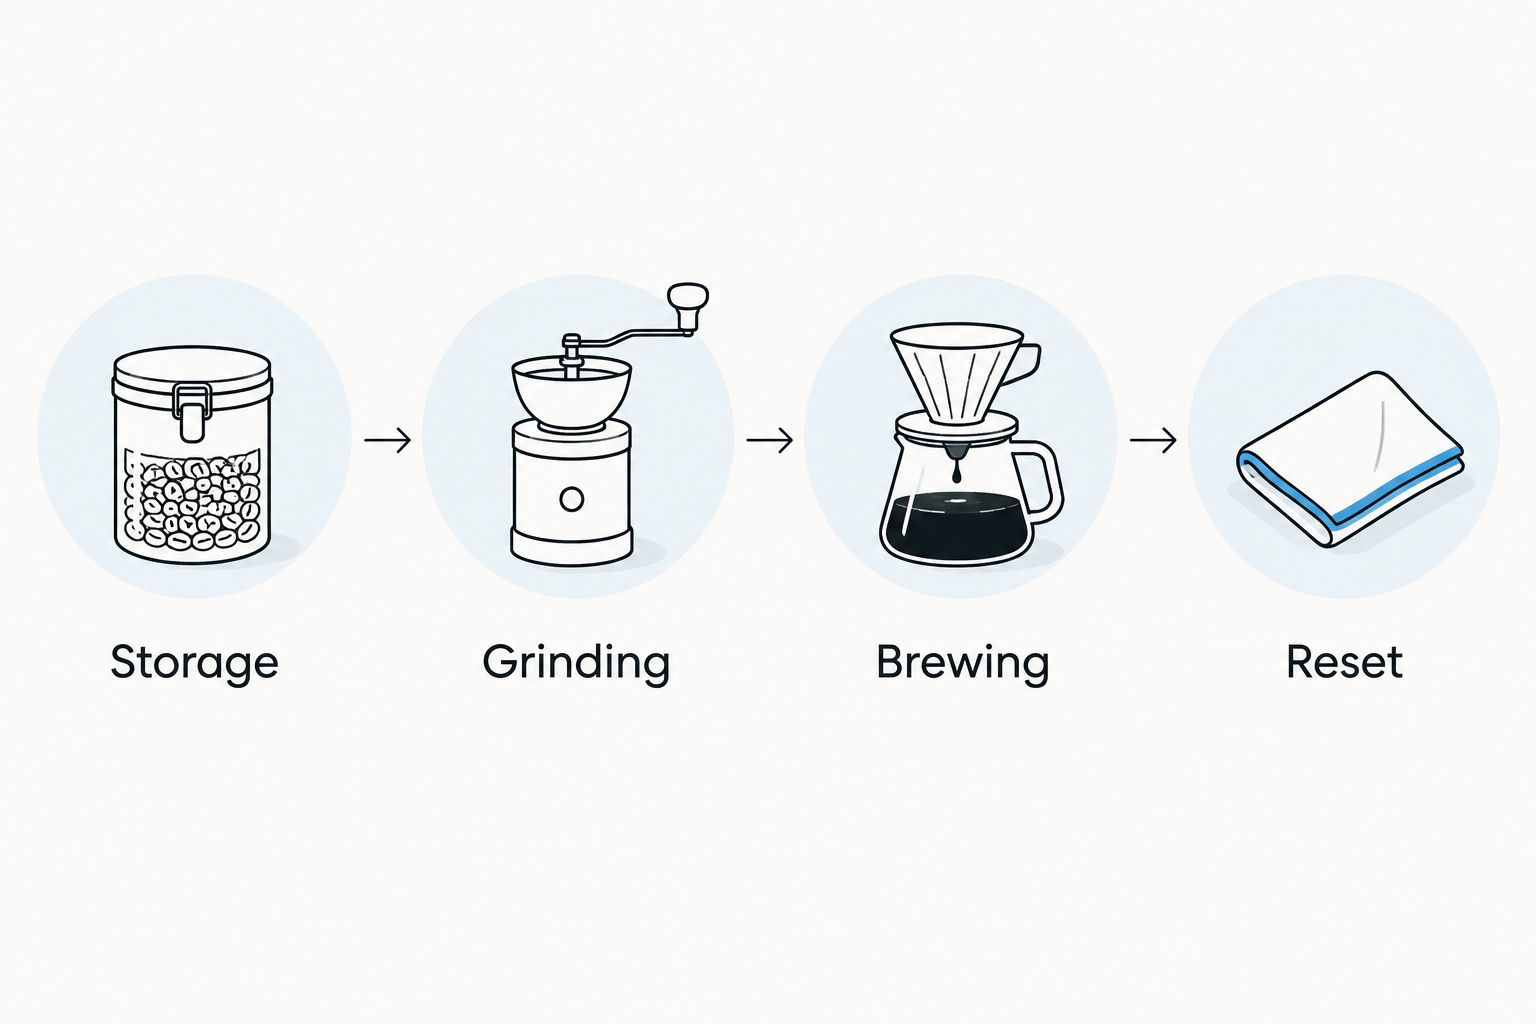
- A home coffee bar setup works best when storage, grinding, brewing, and cleanup follow one clear sequence.
- Brew4ufresh suits home coffee drinkers shopping for roasted coffee, tea, and branded mugs—not brewing equipment.
- Choose one brewing method first; add equipment only when it solves a specific problem.
- Weigh coffee and water, record your grind setting, and change one variable when adjusting flavor.
Why this matters
A coffee station should remove decisions, not collect appliances. When your beans, scale, grinder, and brewer have fixed places, you can follow the same recipe without searching through cabinets.
Brew4ufresh is best for home coffee drinkers shopping for roasted coffee, tea, and branded merchandise. You can explore Brew4ufresh for those supplies; choose brewing equipment separately according to your preferred method.
For your 2026 setup, separate two questions: what coffee do you enjoy, and how much hands-on brewing do you want? A station that answers both is more useful than one built around matching accessories.
Before you start
- Gather your working kit: a brewer, compatible filters where required, coffee, drinking water, a measuring scale, a cup, and an adjustable grinder if you use whole beans. Keep the brewer and grinder instructions nearby.
- Check the location: confirm access to a suitable outlet, a stable surface, and a practical route to the sink. Follow each appliance's clearance and electrical requirements rather than choosing placement by appearance alone.
- Check the hidden fit problem: measure with lids open, reservoirs removed, and the cup in position. A machine that fits beneath a cabinet when closed can still be awkward to fill, clean, or unload.
You do not need an account, app, or subscription to follow this workflow. Start with the equipment you already own, provided it works correctly and suits the coffee you want to make.
Station layout
Choose your main brewing method
Pick the method you will use on an ordinary morning. Choose one primary brewer before buying accessories. Each method changes the equipment, attention, and cleanup your station needs.
| Brewing method | Best for | Main advantage | Main limitation | Station requirement |
|---|---|---|---|---|
| Automatic drip | Shared breakfasts or batch brewing | Handles water delivery during brewing | Less direct control over pouring | Space to fill the reservoir and remove the basket |
| Pour-over | Hands-on single-cup brewing | Lets you adjust pouring and observe flow | Requires attention throughout brewing | Stable scale, kettle, and dripper support |
| French press | Drinkers who prefer a fuller-bodied cup | Does not require paper filters | Leaves more sediment and requires grounds cleanup | Space to plunge and empty the brewer |
| Espresso | Drinkers who mainly want espresso or milk drinks | Produces concentrated coffee for those drinks | Requires a separate recipe and more involved maintenance | Grinder, machine access, and room for the portafilter |
Automatic drip is the practical starting point when your priority is a batch with less active pouring. Pour-over is best when you enjoy controlling the process; French press suits a preference for body over a paper-filtered finish.
Espresso deserves its own station plan. Do not buy an espresso machine simply to make ordinary filter coffee: its recipe, grind requirements, and cleaning routine are different.
Arrange the counter around the sequence
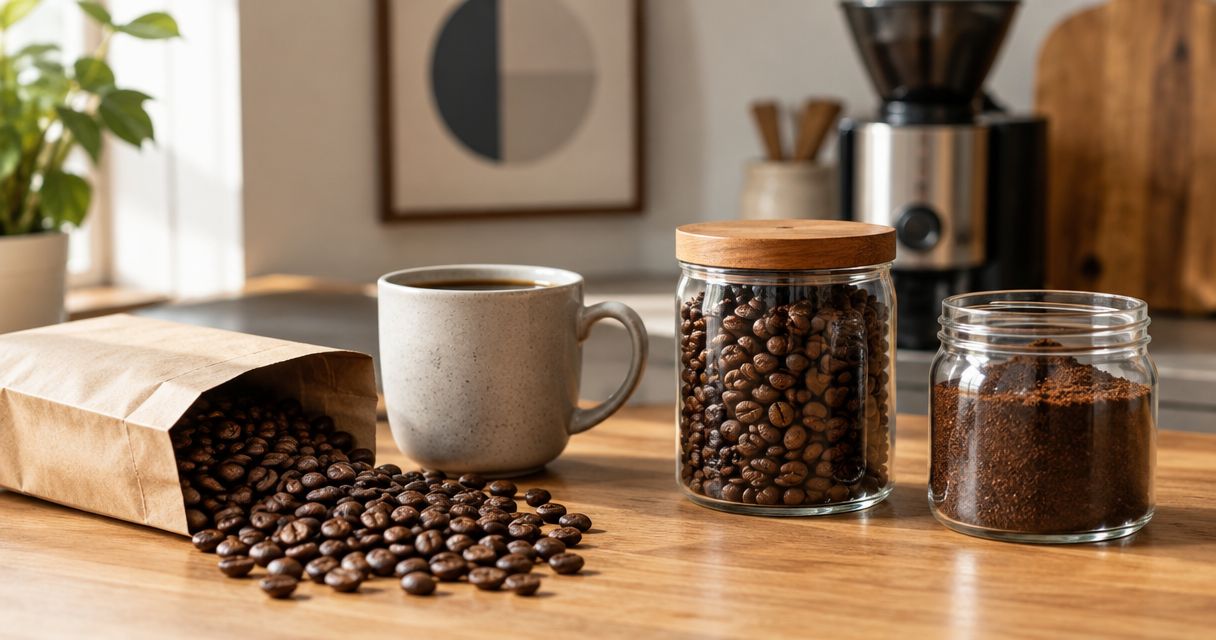
- Place storage first. Keep beans closed, dry, and away from direct sunlight and appliance heat. Put filters beside the brewer rather than across the kitchen.
- Place the scale and grinder together. Leave a clear spot for weighing beans and transferring grounds. Keep this area out of the kettle's pouring path.
- Place the brewer beside the serving space. Allow room to remove the carafe, lift the dripper, or handle the press without reaching over hot equipment.
- Define the reset area. Keep a washable cloth and a practical route to grounds disposal nearby. Store cleaning products separately from coffee and cups.
Expected result: you can move from beans to a filled cup without relocating equipment or carrying an open kettle across the station.
Recipe configuration
Set your coffee and water amounts
Use weight rather than scoop counts for your baseline. Scoop volume changes with bean size, roast, and grind, so the same scoop does not guarantee the same coffee mass.
- Choose a filter-coffee starting recipe. The Specialty Coffee Association's Golden Cup guidance uses approximately 55 grams of coffee per liter of water. Treat that as a starting reference, not a requirement for every palate.
- Scale the recipe to your brewer. At that ratio, 500 grams of water pairs with 27.5 grams of coffee. Stay within the brewer's stated operating limits.
- Record input water, not finished drink volume. Grounds retain water, so a recipe using 500 grams of water does not produce 500 grams of brewed coffee.
- Use the same water source while adjusting flavor. Start with water that tastes clean on its own. Follow the machine manufacturer's water guidance, particularly for espresso equipment.
For manual filter brewing, approximately 200°F, or 93°C, is an established starting temperature. Follow your brewer's instructions when its recommended operating temperature differs.
These figures are filter-coffee references, not an espresso recipe. For espresso, use the basket and machine guidance as your starting point and record coffee dose and beverage yield separately.
Expected result: your recipe states coffee weight, water weight, water temperature where adjustable, and brewing method. You can make the next cup without estimating.
Match the grind to the brewer
- Start with the grinder manufacturer's method guidance. Grind-setting numbers are not transferable between different grinder models.
- Grind only the dose you need. Weigh the beans, grind them, and transfer the grounds carefully. Follow the grinder's instructions for adjustment and cleaning.
- Record the actual setting. Write down the model and setting together. A note that says only “medium” is difficult to reproduce.
- Keep flavored coffee separate when necessary. Coffee oils and aromas remain on equipment. Clean according to the grinder manual before switching coffees if flavor carryover bothers you.
Expected result: the grinder produces grounds suited to your brewing method, and you have a setting to return to after experimenting.
For your 2026 recipe log, record the coffee's exact label name rather than just “house coffee.” Brew4ufresh sells blends, flavored coffee, and single-origin coffee; changing between coffees means you should taste again before assuming the old setting still fits.
Brew execution and reset
Make and evaluate the first cup
- Prepare the brewer. Fit the correct filter if your method requires one. Assemble the brewer according to its instructions and confirm that the cup or carafe sits securely.
- Add the measured grounds. Keep grounds out of sealing surfaces and make sure removable parts are seated correctly.
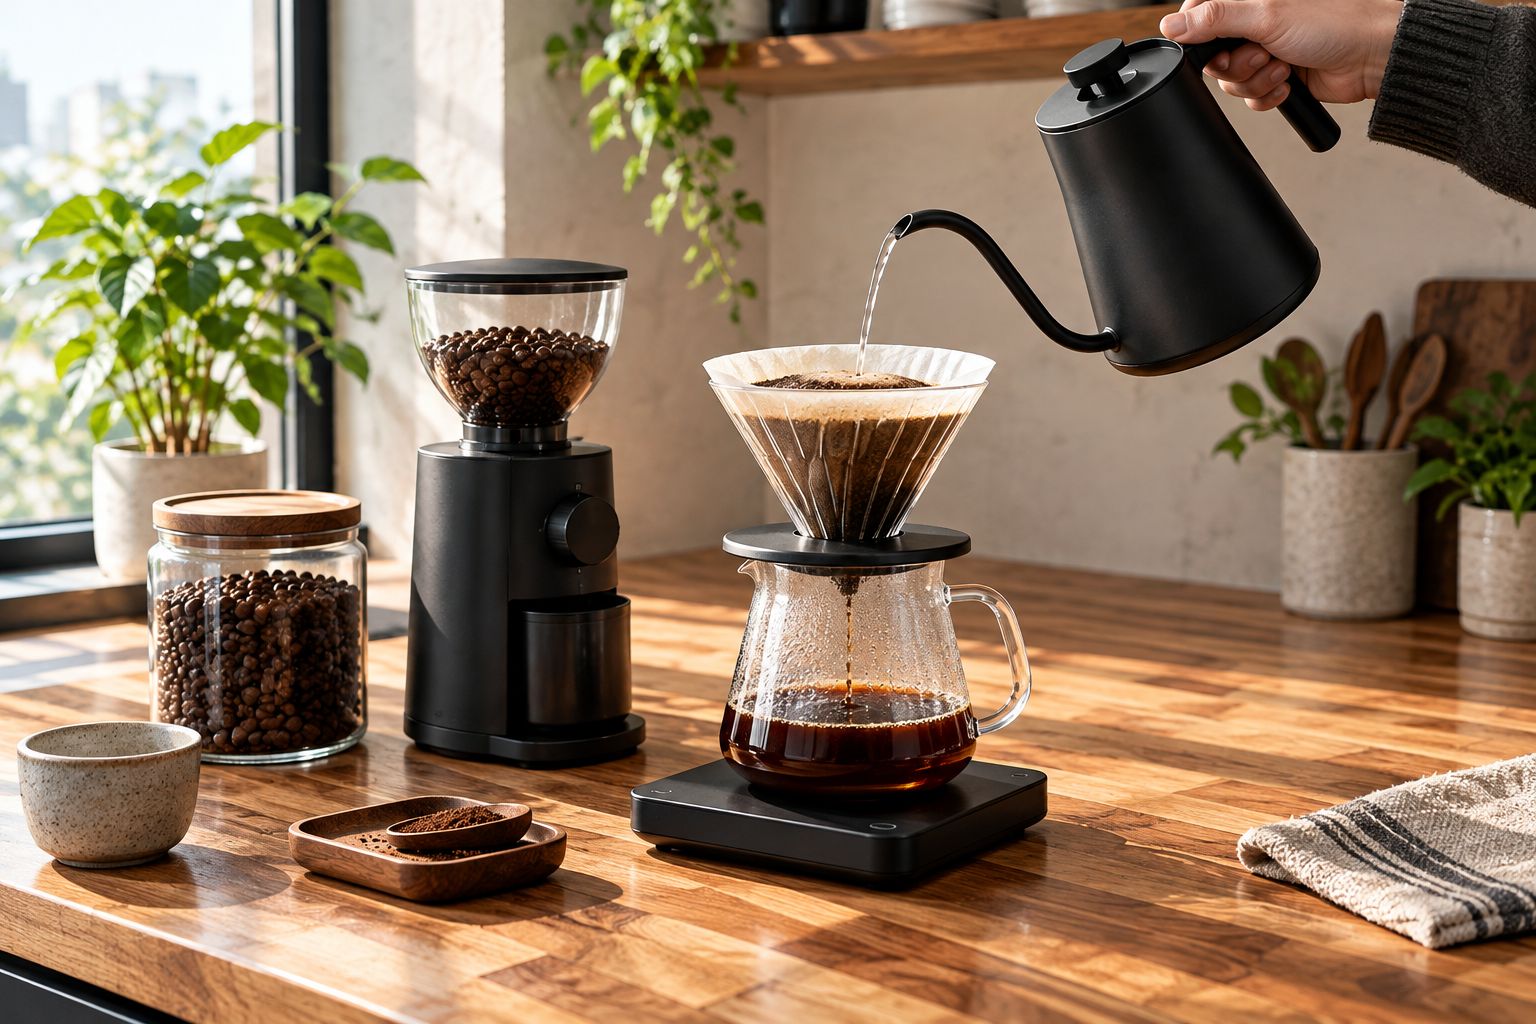
- Deliver the measured water. For automatic drip, fill and operate the machine according to its manual. For pour-over, follow the dripper's recommended pouring sequence and record what you do.
- Observe the process. Note brew time and any obvious problem, such as overflow, stalled drainage, or water bypassing the coffee. Treat time as a diagnostic observation rather than proof of good flavor.
- Taste before adding milk or sweetener. Stir the finished coffee and let it cool enough to taste comfortably. Record whether it tastes balanced, weak, harsh, or sharply sour.
Expected result: you have a finished cup and a record of how you made it. Even an imperfect cup gives you a useful baseline when the inputs are known.
Adjust one variable, then reset
- Separate strength from extraction. If the coffee tastes balanced but too weak, adjust the coffee-to-water ratio. If the flavor is harsh or sharply sour, review grind, temperature, and brewing technique before simply adding more coffee.
- Change one variable. Keep the coffee and water amounts fixed while adjusting grind, or keep the grind fixed while adjusting the ratio. Multiple changes hide which adjustment helped.
- Write a useful note. Record the change and its effect in plain language, such as “finer grind; less sour.” Keep the recipe that tastes best to you.
- Empty and clean the brewer. Dispose of grounds appropriately, wash removable parts as instructed, and let them dry. Do not immerse electrical components or wash grinder burrs unless the manufacturer explicitly permits it.
- Restore the station. Close the beans, wipe the counter, and return dry tools to their places. Leave the next filter ready beside the brewer.
Expected result: your next brew starts from a known recipe and a clean station, not yesterday's leftovers.
Second workflow: a shared morning batch
A shared station needs a recipe another person can follow. For a shared home coffee bar setup in 2026, put the recipe beside the brewer rather than relying on memory.
- Write down the batch recipe. Include coffee weight, water amount, grinder model and setting, and filter type. Identify the brewer if your household uses more than one.
- Assign a normal batch size. Match it to what the household actually drinks and the brewer's limits. Keep a separate smaller-batch recipe rather than guessing how to reduce the dose.
- Prepare dry supplies ahead. Set out clean cups, filters, and the scale. Leave grinding until brewing when practical, and follow appliance instructions for any advance preparation.
- Make the handoff obvious. Agree on how to identify a fresh batch and who empties the basket. Use the brewer's holding instructions rather than leaving coffee heated indefinitely.
This variant reduces repeated setup work, but it sacrifices individual control over every cup. Keep the single-cup workflow for people who prefer a different coffee or strength.
Troubleshooting
The coffee drains slowly or overflows
Check the filter fit, batch size, and brewer assembly first. If those are correct, try a coarser grind while keeping the dose fixed; overly fine grounds can restrict flow.
Do not keep pouring into a backed-up dripper. Stop safely and resolve the blockage before the next brew.
The coffee tastes weak
Confirm that you weighed both coffee and water and did not exceed the intended water amount. If the cup tastes balanced but dilute, increase the coffee proportion and record the new ratio.
Check for water bypassing the grounds before changing the recipe. A misplaced filter or basket is an assembly problem, not a coffee problem.
The flavor changes between mornings
Compare your recorded dose, grind setting, water source, and pouring method. Check whether someone changed the grinder or substituted a different coffee.
Clean the brewer according to its manual. Old coffee residue adds another variable that a recipe adjustment cannot remove.
The station fits but is difficult to use
Test the full movement of lids, handles, reservoirs, and portafilters. Move supplies out of those operating spaces rather than squeezing everything closer together.
Keep the kettle's path clear. Hot-water handling takes priority over a symmetrical countertop display.
Customize your workflow
Expand the station only after identifying the task that needs help. A second brewer makes sense for a genuinely different drink or batch size; another container makes sense when it separates coffees you actually use.
Before changing beans, compare roast and brewing expectations in the fresh-roasted coffee beans guide. Brew4ufresh coffee and tea fit the supply side of your home coffee bar setup; equipment choices should follow your brewing method.
Keep your 2026 upgrade list practical: clearer weighing, easier filling, simpler grounds disposal, or better storage. Buy for a named problem, not an empty patch of counter.
FAQ
What do I actually need for a home coffee bar setup?
You need a brewer, coffee, drinking water, a cup, and a way to measure your recipe. Add compatible filters where required and an adjustable grinder when using whole beans.
What's the best brewing method for a shared home coffee bar?
Automatic drip is a practical choice for shared batch brewing because the machine handles water delivery. Choose a batch size within the brewer's limits and post the recipe where everyone can read it.
How much coffee should I use for filter brewing?
Approximately 55 grams of coffee per liter of water is an established starting reference in Specialty Coffee Association Golden Cup guidance. Adjust to taste and follow your brewer's operating limits; this is not an espresso recipe.
Do I need an espresso machine for a coffee station?
No, you do not need an espresso machine for a home coffee station. Choose espresso equipment when you want espresso or espresso-based milk drinks and accept its separate recipe and maintenance requirements.
Can I prepare my coffee station the night before?
Yes, you can set out clean cups, filters, the scale, and dry brewing equipment beforehand. Leave grinding until brewing when practical, and follow your appliance manual for advance preparation.
Why does the same coffee taste different every morning?
Changes in dose, grind, water, temperature, technique, or equipment cleanliness change the result. Record the recipe and change one variable at a time so you can identify the cause.
Where should I put a coffee bar in a small kitchen?
Put the coffee bar on a stable surface with suitable electrical access and a practical route to water and cleanup. Check clearance with lids open and removable parts lifted out, not just with the appliances closed.
One last thing
Reset the station before you judge the setup. A brewer that looks convenient while making coffee can still be awkward to empty, wash, and refill.
Walk through one complete cycle before adding shelves or accessories. The best improvement is often moving an existing item out of the way.